Halloween: Sophisticated Styling
Halloween offers the perfect opportunity to infuse your home with an enchanting blend of sophistication and seasonal charm. From tastful tablescapes to clever DIY decor and festive recipes, this season invites creativity and style in equal measure.
Imagine a table set with creamy hues, elegant candlelight, and whimsical details that hint at the spooky yet chic ambience of Halloween. Whether you're hosting an intimate dinner or a lively gathering, thoughtful touches can elevate your home into a captivating space that embraces the essence of the evening affair. Join us as we explore inspired ideas for creating a beautiful evening atmosphere, from DIY decor to irresistible recipes that will be unforgettable.
1. Styling
Halloween offers an opportunity to express your home in creative, new ways. When approaching styling your home for the occasion, there are a number of directions you can go in. Here are a couple of interiors sure to inspire:
Light & Elegant
To achieve an airy style, there are a few simple tips that can effortlessly transform your space. Start by incorporating creamy neutrals as your base, accented lightly with seasonal hints of burnt orange, tans, browns, and subtle natural tones. A touch of black adds contrast while keeping the look light and elegant. Opt for white pumpkins, dried or fresh grasses, and branches to bring in an organic feel. To elevate the look, layer textures—think soft linens, woven baskets, and rustic woods—for added depth and interest. The result is a bright, playful Halloween ambiance with a sophisticated twist.
Moody & Dramatic
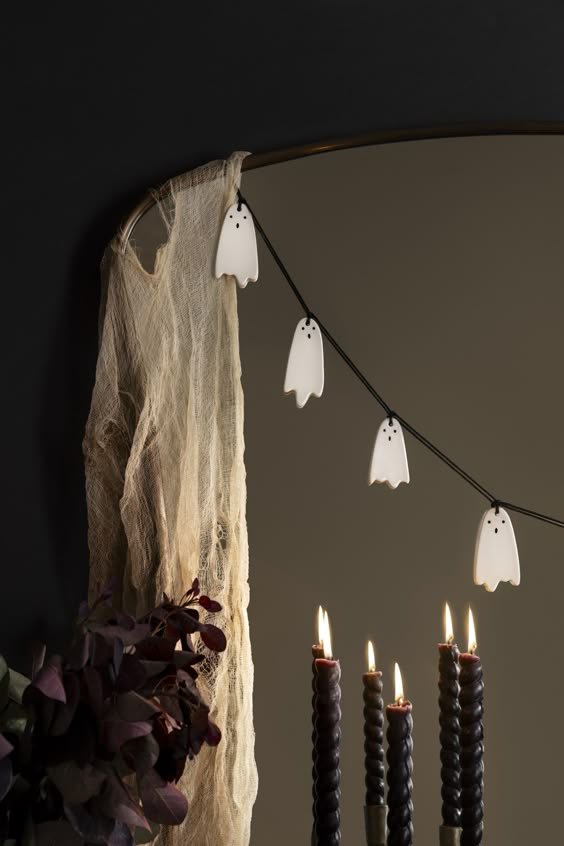
To achieve a dark and moody theme with a sophisticated edge, there are a few key elements to consider. Begin by embracing deep, dramatic tones like charcoal, midnight black, rich burgundy, and chocolate brown. These hues create a bold, atmospheric backdrop, perfect for an elegant yet mysterious style. Incorporate dark-hued pumpkins, rich textures, and metallic accents in gold or brass to add a sense of luxury. Opt for candles in tall candelabras, dim lighting, lanterns and rich fabrics like velvet and satin to evoke a sense of depth and intrigue. To elevate the mood, introduce antique-style decor, dark florals or branches, and autumnal botanicals and wreaths. The result is a moody, enchanting Halloween space with a refined, sophisticated allure.
2. Party Planning
There are many ways to prepare your Halloween bash, including lighting, fragrance, decor, and DIY projects. Each element plays a crucial role in setting the mood and creating an unforgettable atmosphere for your guests.
From choosing the right ambient lighting to infusing your space with seasonal scents, careful planning can elevate your celebration from ordinary to extraordinary.
Whether you’re aiming for an elegant vibe that emphasizes sophistication and refinement or a playful, spooky experience filled with whimsy and fun, let’s explore the essential aspects of party planning that will ensure your Halloween gathering is a true delight. Here are some specific decor ideas, fun DIY crafts, and a classic costume idea for your pet that will help you create an enchanting celebration.
Decor Ideas & Activities:
Costume Contest: Don’t forget to include your dog in the fun! A pet costume contest adds a playful touch to your gathering.
Layer Pillar Candles: Arrange pillar candles in your fireplace to create a warm and inviting glow.
Vintage Candle Holders: Incorporate unique thrifted candle holders and oil lamps.
Mantle Design: Create a charming display by stacking books, pumpkins, and candles on your mantle for added interest. Layer garlands for added texture.
Black Candle Sticks: Incorporate black candlesticks and dim layered lighting for a soft effect.
Pumpkin Punch Bowl: Serve drinks in a pumpkin-shaped glass punch bowl for a fun and festive centerpiece.
DIY Crafts:
Ghost Framed Art: Create whimsical ghost art in an ornate vintage gold frame.
Spooky Garland: Craft a festive garland featuring ghosts, pumpkins, and bats for a playful touch.
Cheesecloth Ghost: Make cheesecloth ghosts using string and Styrofoam for the head to hang around your space.
Painted Pumpkins: Give traditional pumpkins a personalized twist by painting them in terracotta hues. Dry brush them with a shade lighter for added depth.
Wax-Dripped Bottles: Drip wax on a range of bottles to create an eerie effect then light tall candles to give a lived-in look.
Spray-Painted Branches: Spray branches with black paint to add a dramatic touch to your decor. For added texture add faux ravens/ bats or spider webs.
Ghost-Shaped Ice: Freeze ghost-shaped ice cubes to add a fun element to your drinks.
Cut Out Bats: Cut out bats and tape them inside lampshades for spooky shadows when lit.
Pumpkin Bottle Chiller: Carve out a pumpkin and use it to chill drinks with ice.
3. Tablescape
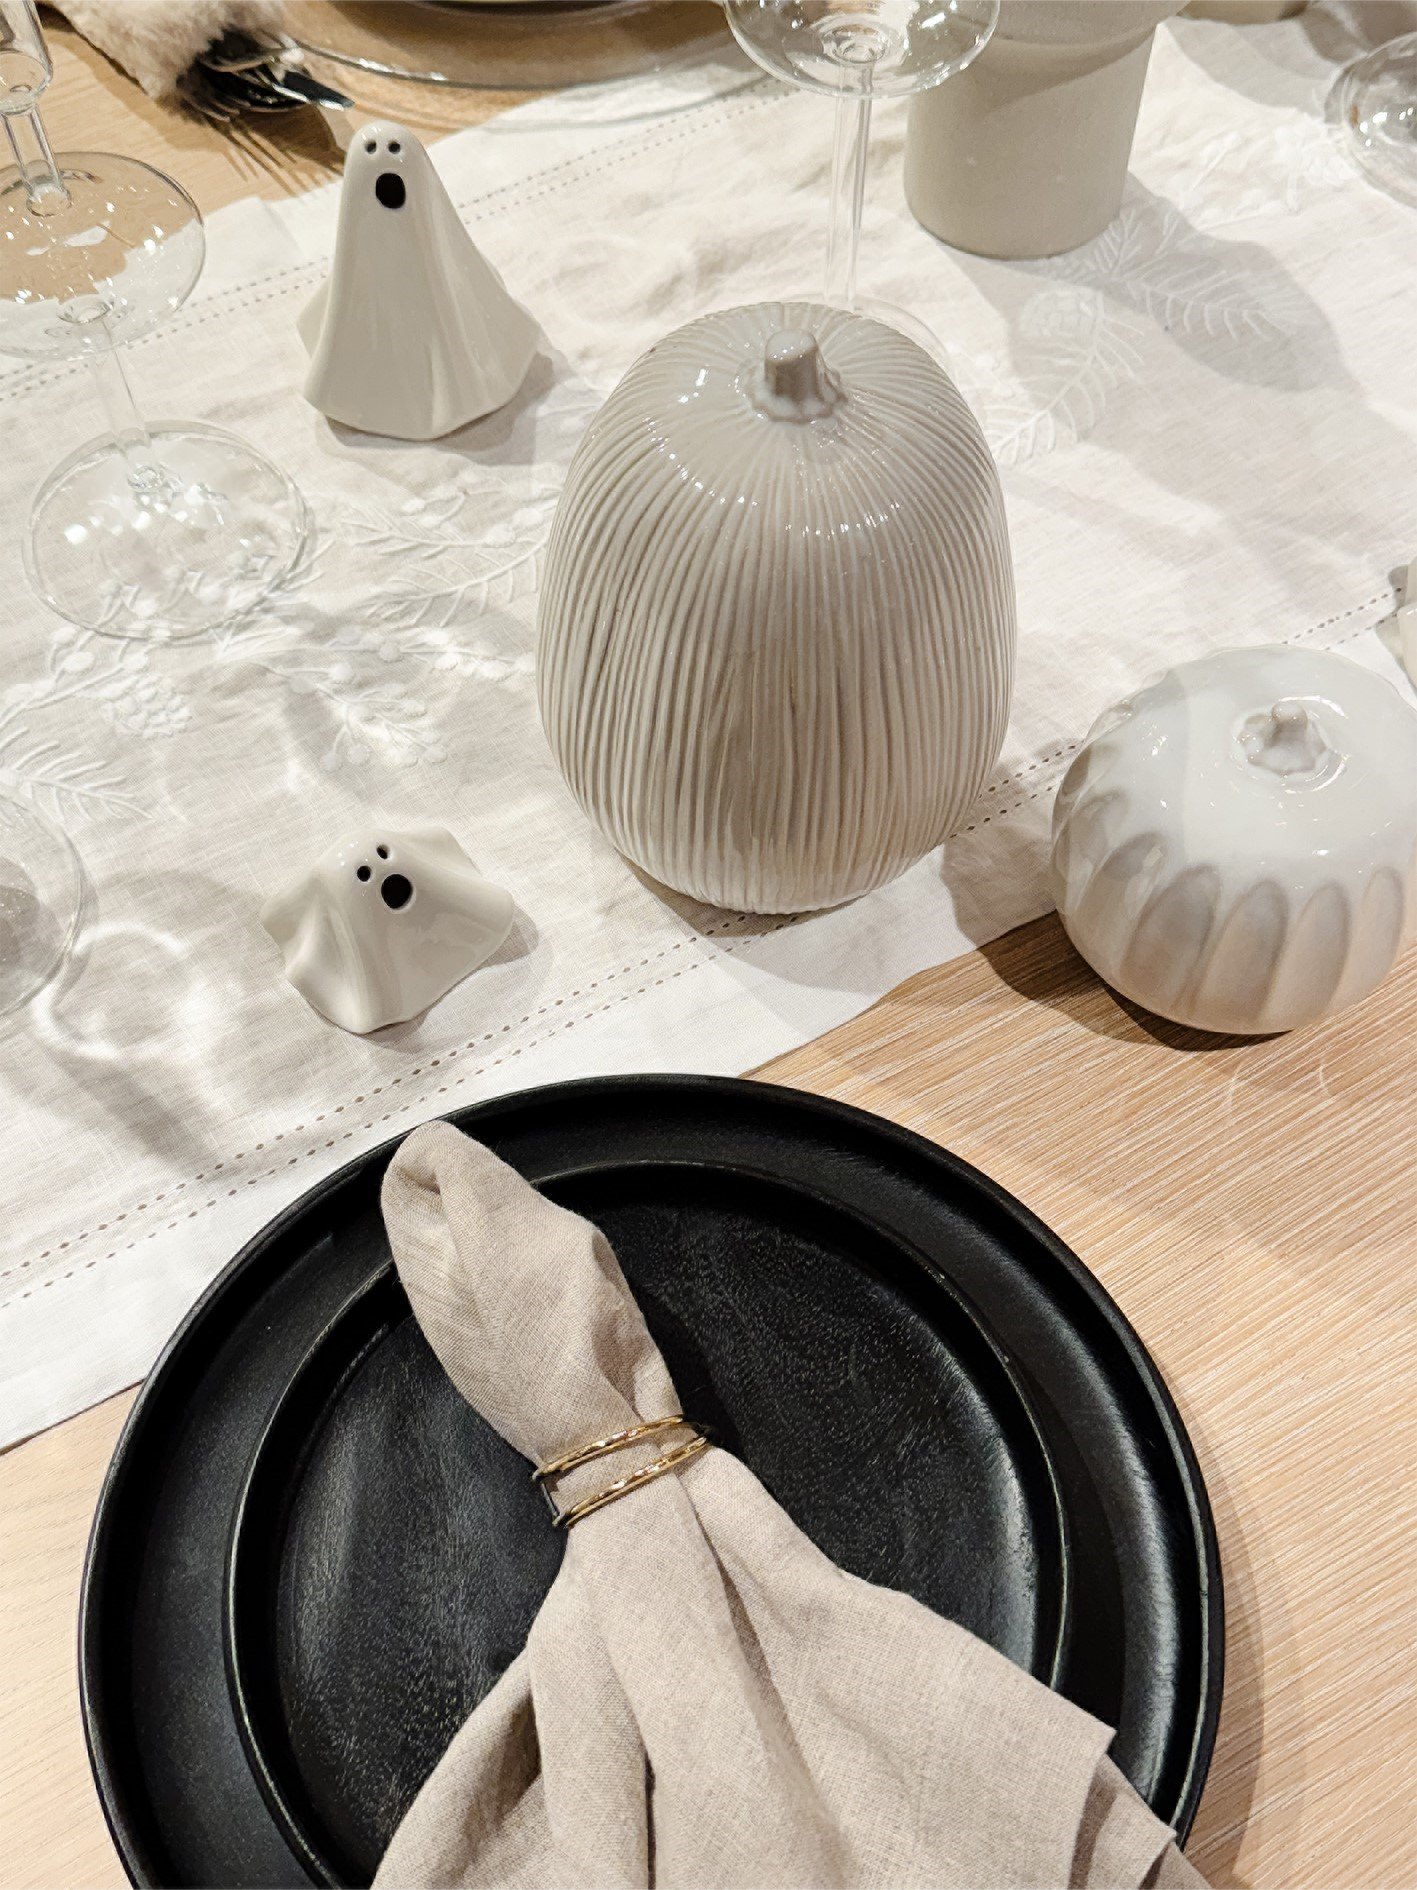
Our designer, Taylor, has crafted a festive Halloween tablescape featuring an FID favourite: Crate and Barrel. This design showcases the perfect blend of elegance and seasonal charm, using spooky ghost decor and tonal ceramic pumpkins to create a captivating dining experience. From bold black plates to seasonal accents, Taylor’s vision brings the essence of Halloween to life while maintaining a sophisticated aesthetic.
Shop the Look:
Dover Medium White Ceramic Pumpkin + Reviews | Crate & Barrel Canada (crateandbarrel.ca)
Tondo Ebonized Plate 9" + Reviews | Crate & Barrel Canada (crateandbarrel.ca)
Dover Small White Ceramic Pumpkin + Reviews | Crate & Barrel Canada (crateandbarrel.ca)
Small LED Halloween Ceramic Ghost Light + Reviews | Crate & Barrel Canada (crateandbarrel.ca)
Aria Holiday Gold Napkin Ring + Reviews | Crate & Barrel Canada (crateandbarrel.ca)
Marin Natural European Flax ®-Certified Linen Napkin + Reviews | Crate and Barrel
4. Chilling Cocktails
La Llorona Martini
Ingredients
3 ounces Pisco Brandy
1 ounce fresh lime juice
1 ounce fresh lemon juice
1½ tablespoons granulated sugar
crushed ice
dash of Angostura bitters
dry ice, optional (see note)
Instructions
In a cocktail shaker filled with crushed ice, combine brandy, juices, and sugar. Cover, shake vigorously for 15 seconds, and strain into a cocktail glass.
Top with a few drops of bitters.
Add some dry ice for a spooky effect.
La Llorona (The Weeping Woman) - Muy Bueno (muybuenoblog.com)
5. Tasty Treat
Mummy Shortbread Cookies
For The Cookies
1/2 cup butter
1/4 cup powdered sugar
2 tsp vanilla extract
1 tsp ground cinnamon
1/2 tsp ground nutmeg
1/2 tsp salt
1 cup all purpose flour
2 tbsp milk
To Decorate
1 cup bright white candy melts
24 candy eyes
In the bowl of a stand mixer fitted with the paddle attachment, cream the softened butter on high speed until it is light and fluffy— about 2 minutes.
Next, add the powdered sugar, vanilla extract, cinnamon, nutmeg, and salt. Mix on low speed just until it is all combined— about 1 minute.
Next, with the mixer on low speed, alternate between adding the flour and milk in two batches. First, add half of the flour, then half of the milk, then the remaining half of flour, and finally the remaining half of milk.
Allow the mixer to continue on low speed until the dough comes together in a ball around the paddle.
Shape the dough into a disk and wrap it in plastic wrap. Refrigerate for 15 minutes.
While the dough rests, preheat your oven to 375F and line a baking sheet with parchment paper.
Once the dough has chilled, lightly flour your work surface and roll out the dough until it is 1/4” thick.
Using a 2” cookie cutter, cut out 12 circles of dough and place them 1” apart on the baking sheet.
Note: Make sure to flour the cookie cutter so the dough doesn’t stick.
Bake for 10-12 minutes, or until the edges of the cookies are just starting to turn golden brown. Allow the cookies to cool to room temperature on the tray.
To Decorate
Heat the candy melts according to the package instructions (typically you’ll heat them at 50% power, stirring every 30 seconds until melted).
Place 1/4 of the melted chocolate into a plastic bag— we will use this chocolate to make the mummy lines later.
Next, dip one side of the cookies into the candy melts and use an offset spatula to smooth any lines.
While the chocolate is still soft, add two candy eyes. Repeat with the remaining cookies.
Once all of the cookies have been dipped, cut just the very tip of the corner of the plastic bag off with scissors.
Drizzle horizontal lines over the cookies to create the mummy effect.
Allow the chocolate to fully set before enjoying. Store in an airtight container at room temperature for up to 2 days.
Embrace the essence of Halloween by balancing elegance and whimsy. Thoughtful decor and delightful recipes can transform your home into a festive haven, making each detail memorable. Let your creativity shine and craft a celebration that reflects your style. With a little flair, you can create a truly captivating experience for your guests.
Image Sources: First Impression Designs, Pinterest & Unsplash
Wishing everyone a safe and memorable upcoming Halloween,
Happy Thursday!


